
Configuring the Data Tree Port Download PDF
Right-click a data tree port and select the Configure port command to open the data tree port configuration wizard. In the page that opens, map the nodes from the Input tree list (on the left) to those from the Output tree list (on the right). Use the toolbar or context menu commands to create and edit the tree structure.
The Input tree list toolbar and context menu provide the following commands:
 Get list: Use this command to output a list of all unique field values. The maximum number of unique values in the list is 10 000.
 Check all: Use this command to select all nodes.
 Deselect all: Clear the selection from all nodes.
 Invert selection: Turn selected nodes into unselected and vice versa.
 Add to excluded: Add the selected tree nodes to the Excluded group.
The Output tree list toolbar and context menu provide the following commands:
 Add child node: Add a child node to the root node.
 Add sibling node: Create a node at the same hierarchy level as the selected node.
 Edit: Open the editor where you can change field values for the selected node.
- You can also run this command with F2.
- Add to excluded: Similar to the Input tree command.
 Move up and
 Move down: Change the node order. Note that you cannot move the Root node.
- You can also run these commands with Ctrl + Up and Ctrl + Down.
 Load from XSD: Load the output tree node structure from an XSD file.
 Load from JSON: Load the output tree node structure from a JSON file or string. To use this function, click
 and select the required loading method in the drop-down list.
-
 Skip root node upon publishing: Select this checkbox to exclude the data tree root node from REST and SOAP messages. The option is disabled by default. When you publish a supernode with a data tree output port, configure this property in the configuration wizard of the input port of the supernode output node:
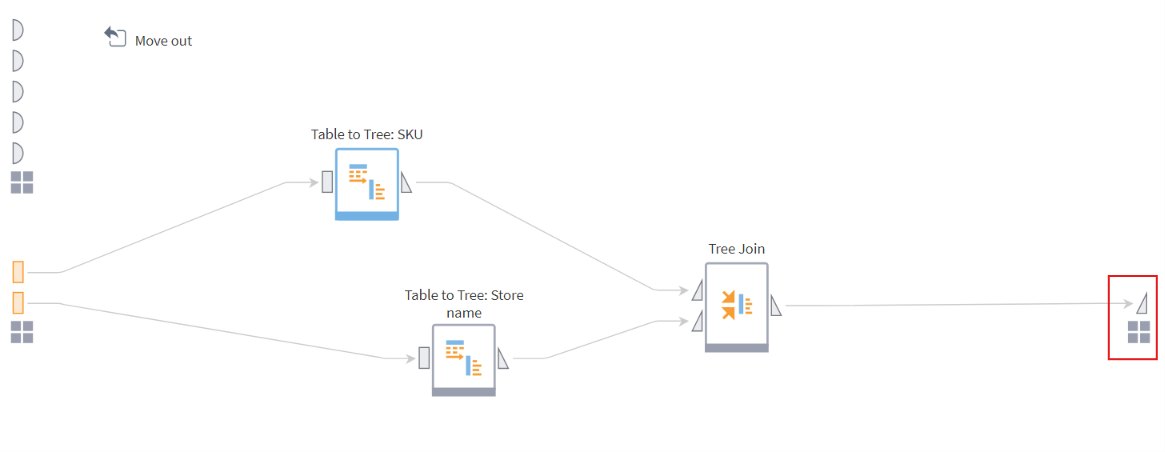
Figure 1. Data tree input port of a supernode's output node -
 Generate child elements: Expand a recursive node. The command adds all subnodes of the recursive node to the data tree.
- You cannot expand a recursive node that is already expanded.
- If no XSD schema/JSON structure is loaded (you have not run Load from XSD/ Load from JSON) or the loaded tree contains no recursive nodes, the button is hidden or inactive.
 Next recursive unexpanded node: Select the next recursive unexpanded node after the currently selected node.
- To select the first recursive node, select the root node and go to the next recursive unexpanded node.
- If no XSD schema/JSON structure is loaded (you have not run Load from XSD/ Load from JSON) or the loaded tree contains no recursive nodes, the button is hidden or inactive.
 Map nodes: Synchronize the list of the port's output tree nodes with the Input nodes list. For the synchronization algorithm, see Automapping of fields.
 Automapping: Enable this mode to automatically run the Map nodes command when you execute the node. This mode is enabled by default.
 Delete: Delete a child tree node.
- The command icon appears when you hover over the node.
- You can also run this command with Delete.
 Delete all: Delete all child nodes (Shift + Delete).
Note: You cannot delete the tree root node.
When you run Add child node, Add sibling node, or Edit, the system opens the node parameters dialog with the following properties:
- Name: Set the node name. Follow these naming rules:
- The name can contain uppercase or lowercase Latin letters, underscores, and digits. A digit cannot be the first character.
- The node name must be unique within a single hierarchy level.
- Caption: Set a custom description of the tree node.
- Data type: Set one of the available data types.
- Data kind: Set one of the available data kinds.
You can also set the following checkboxes:
- Array: Select this so the system defines the selected node as an ordered set (array) of data of one type/structure.
- Container: Select this so the selected node can contain child nodes.
To filter the Input tree and Output tree node lists, use  Filter on the corresponding toolbar. To select a node using its name or part of the name, use
 Search.
Loading the node structure from an XSD schema
If necessary, load the output tree structure from an XSD file with Load from XSD.
In the dialog that opens, fill in the following fields:
- XSD file: Select the file containing the tree structure.
- Namespace: Select a namespace from the list of all namespaces described in the XSD file. This limits the root element selection to the specified namespace. The default value is All namespaces.
- Root element: Select the root node from the loaded file's list. The default value is the first root node of the file.
- Recursive depth: Set the maximum number of recursions when expanding recursive nodes. Select a value from 0 to 3.
- The default value is
1: The system expands each recursive node automatically, but recursive nodes inside those nodes stay unexpanded. You can expand recursive nodes manually after the system builds the tree. - If set to
0, the system does not expand recursive nodes automatically.
- The default value is
- Generate node captions by xsd:documentation: Enable this parameter so the system assigns captions to tree nodes from the first non-empty line of the
.xsdfile.- If documentation is missing or you turn this parameter off, the system generates the node caption from the element or attribute name.
After you fill in all fields, click Load. The system loads the XSD schema for further work.
Loading the node structure from a JSON structure
You can load the output tree structure from a JSON file or string with the Load from JSON command in the dropdown list.
In the dialog that opens, select the JSON structure loading method:
- From file: Specify the file in the file selection field.
- From string: Enter a JSON string in the text input field.
Regardless of the loading method, enter the following:
- Date/time template: Set the date and time format.
After you fill in all fields, click Load. The system loads the JSON structure for further work.
Mapping tree nodes
To map nodes of the Input tree and the Output tree lists, create links between them:
- Click
 Auto Link so that the system links input and output nodes automatically if their names and data types match.
- You can also create links with drag-and-drop: drag a node from the left list onto a node in the right list. In this case, field names do not matter, but the data types must match.
To remove links between nodes, use the following commands:
 Delete All Links: Use this to delete all links at once.
 Delete: Select a link between two nodes and hover over the icon in the center. Click the
 Delete button that appears.
Important: When you leave the configuration page or attempt to run the node, the component raises an error if a required output root node has no mapped input node.
Automapping considers the Excluded list:
- When the system adds pass-through nodes, if a node matches an item in Excluded, the system does not add it to the Output tree nodes.
- If the output list contains an unlinked node that matches an excluded node, a required node stays unlinked in the Output tree list, and the system deletes an optional node.
Excluded nodes specifics
Remove tree nodes from a dataset without disrupting automapping using Add to excluded.
Note: The Add to excluded option is available only in the output ports configuration wizard. If all tree nodes are required (impossible to exclude; shown in bold), the wizard does not display the Add to excluded interface elements.
- The list shows excluded tree nodes in italic in a separate Excluded group.
- In the Excluded group, you can change the tree node order and remove nodes.
- When you select an excluded tree node, the system highlights the matching input tree node.
- You cannot add a missing or lost tree node to the Excluded group.
- When you run Auto link, the system does not link excluded input tree nodes.
- The system deletes an output tree node when you add the following to the Excluded group:
- The output tree node itself
- An input tree node linked to that output tree node
You cannot add the following to the Excluded group:
- A required input tree node or an output tree node linked to a required input tree node
- An inherited output tree node or an input tree node linked to an inherited output tree node
A required node is a node added by the node algorithm, or a node whose parameters you overrode.
An inherited node is a tree node in a derived component inherited from the base node.
Note: The system treats nodes as optional if they were created by the following components:
- JSON to Tree: When the tree is created automatically
- Tree Union: Always
- Tree Join: All nodes except the root node of the joining tree, or the first-level nodes of the joining tree if the root node is skipped
Read on: Service Ports