
Workspace
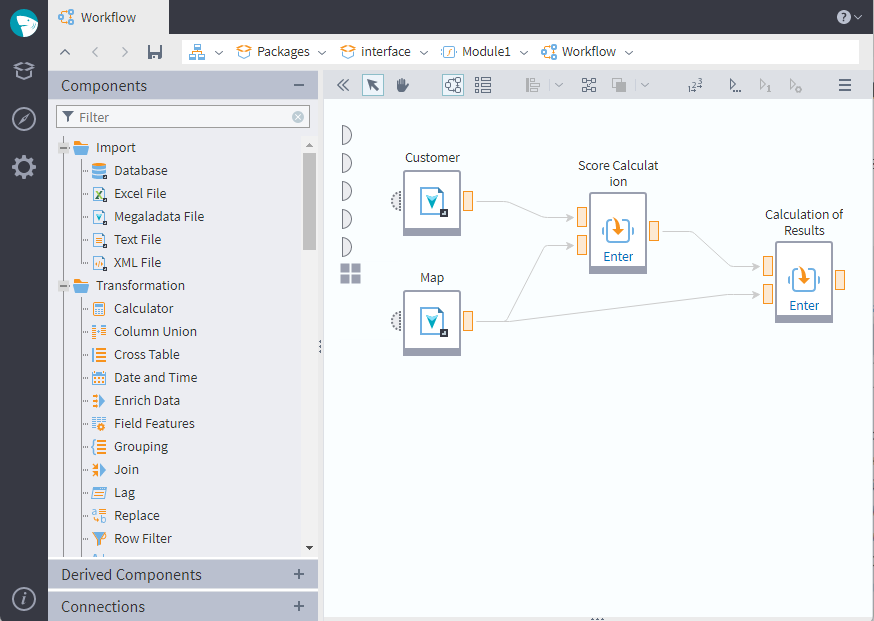
The workspace is the main area where you build your workflows and interact with them. It consists of three primary sections: the Components pane, the workflow area, and the toolbar.
Components pane
Located on the left side of the workspace, the Components pane provides the building blocks for your workflows. It contains the following categories:
- Components: The standard component library provided by Megaladata.
- Derived components: Reusable components created by users, based on standard components or configured workflow segments.
- Connections: A list of available data sources that can be used in the workflow.
Workflow area
This is the main central space where you visually build your workflow. Here, you add components or connections from the Components pane to create nodes, and then connect these nodes with links to define the data processing sequence.
Toolbar
Located above the workflow area, the toolbar provides quick access to various tools and operations for managing the view, building, and executing your workflow:
 or
or  Show/hide component pane: Toggles the visibility of the Components pane on the left.
 Object selection mode: The default mode for selecting, moving, connecting, and configuring nodes and links in the workflow area.
 Workflow navigation mode: A mode where clicking and dragging within the workflow area pans the view, allowing you to move around large workflows easily.
 Show as workflow: Displays the workflow in its standard graphical view with nodes and links.
 Show as table: Provides a compact, alternative view of the workflow as a table listing the components used.
 Vertical left alignment: This is the default alignment set for your workflow nodes. The dropdown menu next to the icon provides a set of commands to align selected nodes relative to each other (e.g., Align left, Align center, etc.).
 Auto node alignment: Automatically arranges nodes in the workflow area, based on the logical flow of data processing.
 Bring selected nodes to front: Moves selected nodes visually in front of other overlapping nodes and their captions. The button's dropdown menu also provides a command Send to back for a reverse action.
 Show count in output ports: Displays the number of objects (table rows, variables, etc.) at the output ports upon activation.
 Customize execution order: Allows defining a custom sequence for node execution, overriding the default order determined by links.
 Run all: Executes the entire workflow from the beginning.
 Run node (F9) or
  Deactivate node: Toggles the selected node between active (will run) and inactive (will be skipped during execution).
 Retrain node: Re-runs the training process specifically for the selected trainable node.
 Configure node (Shift + Enter): Opens the configuration wizard for the selected node.
 Configure node activation mode: Opens settings to define specific conditions or modes under which the selected node activates or runs.
 New annotation: Creates a customizable frame which you can use to highlight specific parts of your workflow, along with typing in some comments.
 Cut (Control + X): Copies the selected data into RAM and deletes it from the current location.
 Copy (Control + C): Copies the selected data to clipboard.
 Paste (Control + V): Pastes the content from the clipboard into the selected destination.
 Clone node: Creates an exact copy of the selected node, maintaining all its input links.
 Delete selected (Delete): Deletes the currently selected node(s) and/or link(s).
 Collapse node(s) to supernode/Expand supernode: Groups selected nodes into a single supernode for better organization, or expands an existing supernode to show its internal nodes.
 Create derived component: Creates a reusable derived component based on the configuration of the selected node. This action is only possible for some nodes.
 Show parent nodes for derived nodes: For a selected derived node, this command highlights the original node it was created from.
 Show source nodes for reference nodes: For a selected reference node, this highlights or navigates to the source node it refers to.
 Show workflow outline: Opens a mini-map view of the entire workflow, useful for navigating large workflows and scaling the view.
Note: If the toolbar becomes too crowded, some buttons may be hidden. An overflow button (
) will appear; click it to access the hidden buttons via a dropdown list.
The context menu of the workflow area provides an additional command ![]() Deactivate all. It allows you to stop all the nodes of your workflow, including the nodes and connectios within supernodes. It will not deactivate the connections on the same hierarchical workflow level and above.
Deactivate all. It allows you to stop all the nodes of your workflow, including the nodes and connectios within supernodes. It will not deactivate the connections on the same hierarchical workflow level and above.
A complete list of hotkeys for building workflows can be found here: Hotkeys.
Node context menu
Right-clicking a node in the workflow opens a context menu with the following commands:
Rename (F2): Allows you to change the node's caption.
 Add comment: Creates a comment field where you can add any necessary information about the node.
- Delete comment: Appears when a comment has been added. Deletes the node's comment field.
- Run node (F9) or Deactivate node: Runs or stops the node.
 Deactivate all subnodes: Available only for a supernode, this command deactivates all nodes and connections within it.
- Activate subsequent nodes: Runs the node and all nodes linked to its output port.
- Retrain node: Retrains a trainable node on the new data.
- Configure node (Shift + Enter): Opens the configuration wizard for the node.
- Configure node activation mode: Opens settings to define specific conditions or modes under which the selected node activates or runs.
 Configure visibility: Opens the window to select from the node's visibility options.
- Cut node (Control + X): Copies the selected data into RAM and deletes it from the current location.
- Copy node (Control + C): Copies the selected data to clipboard.
- Clone node: Creates an exact copy of the selected node, maintaining all its settings and input links.
- Create derived component: Creates a reusable derived component based on the configuration of the selected node.
- Update node configuration: A derived node command. Updates the configuration of a derived node to match its parent node.
- Restore original node configuration: A derived node command. Discards all the changes made to a derived node and makes it identical to its parent node again.
- Show control variables port: Displays the node's control variables port if it has been hidden.
- Collapse node to supernode/Expand supernode: Groups selected nodes into a single supernode for better organization, or expands an existing supernode to show its internal nodes.
 Add job to scheduler: Takes you to the Scheduler page and opens new job settings.
- Delete node (Delete): Deletes the currently selected node.
- Delete (forced): Deletes the currently selected node regardless of errors (e.g., you can delete a node before it has completed processing).
Read on: Components Pane